Installation
What you need
- The EasyChat package for your platform: download it for free from
easychat24.ruin the “Download EasyChat for free” section. - Administrator access to the website.
- Access to scheduled tasks in your hosting panel, or help from hosting support.
- Database access if the installation is performed manually.
- The website domain where chat will run.
- Access to the EasyChat customer cabinet is needed after payment for the license, domain, receipt and repeat downloads.
easychat24.ru as regular files. If a temporary
download error appears, try again in a few minutes: the chat and trial limit are
not affected.After the download starts, the website may show an optional EasyChat ID and a short code. Neither is required for the file. If you keep the code, enter it under Code from the download page during first launch. See Download and EasyChat ID for the full flow.
- Prepare access
- Choose platform
- Install EasyChat
- Set up cron
- Check widget
- Connect Android
Choose installation scenario
Use this path if the website runs on OpenCart, Bitrix, WordPress or Webasyst.
- Open platform installation.
- Choose your CMS.
- Download the package made for this platform.
- Follow the selected guide.
- After installation, check the widget on a public website page.
Before you start
- Make sure the website opens through a secure
https://address. - Back up website files and the database.
- Download the current EasyChat package from the
easychat24.rulanding page. - Check that the hosting supports the required PHP and MySQL versions.
- Prepare the administrator login and password for setup.
Main steps
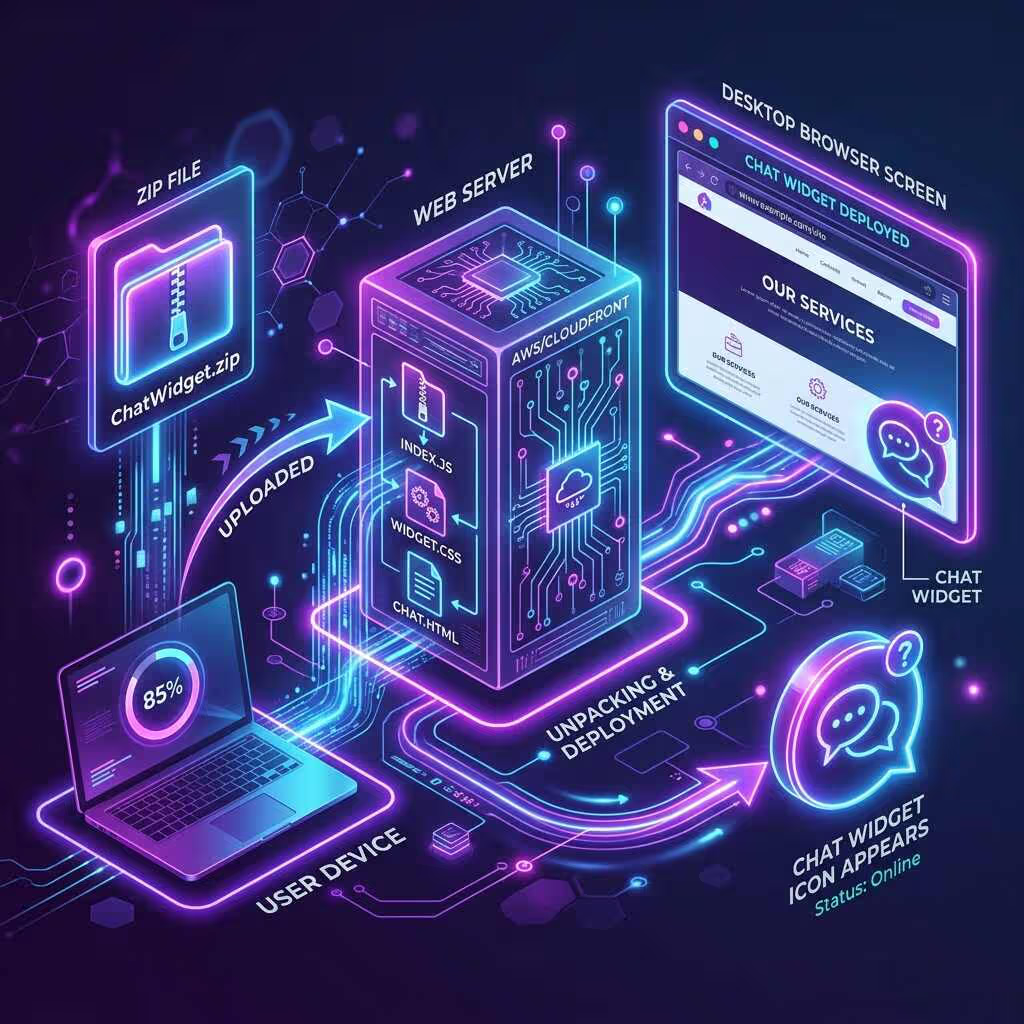
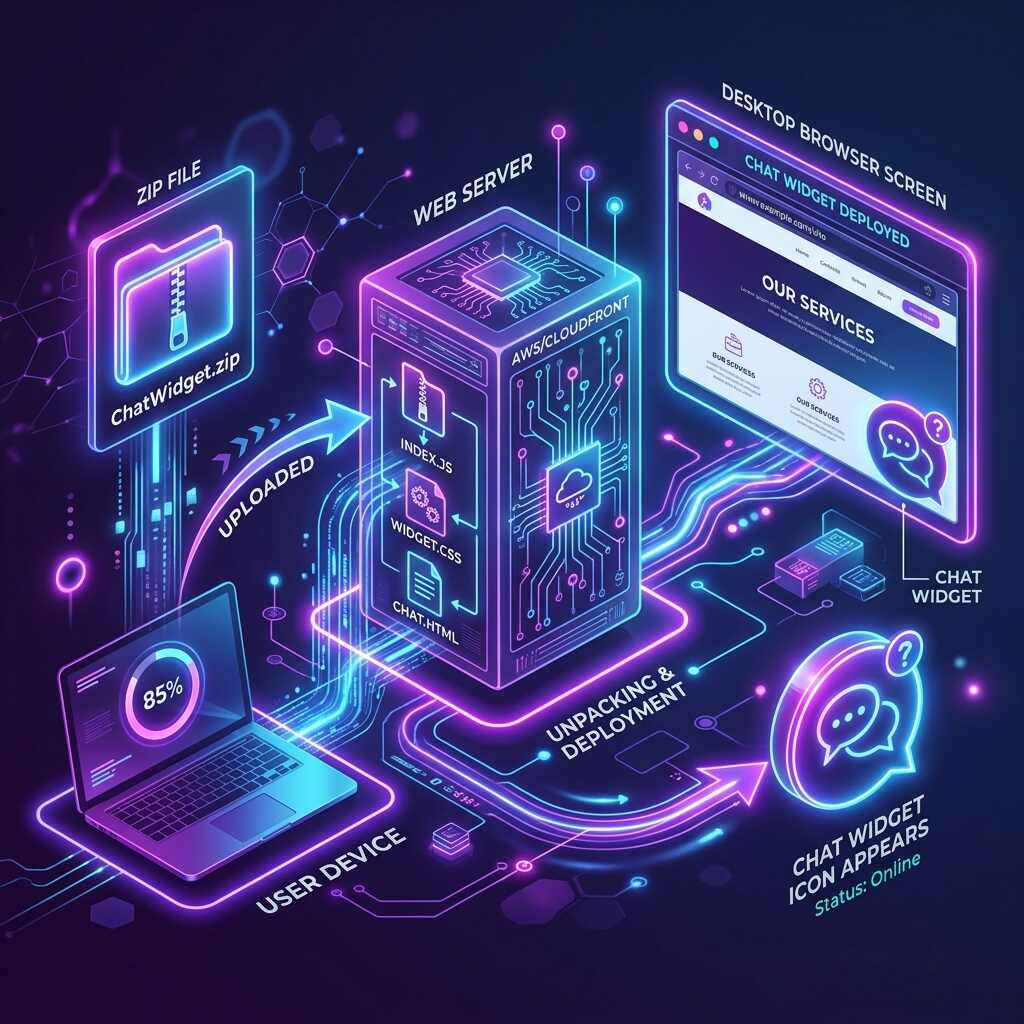
- Upload EasyChat files to the website.
- Open the installation page.
- Enter database connection settings.
- Create the administrator account.
- Optionally enter the short code from the download page.
- Open the EasyChat admin panel and make sure the widget can be enabled.
If installation does not finish
Check EasyChat folder permissions, database connection settings and whether all files were uploaded. If the website uses cache or template compilation, clear the cache and open the installation page again.
Set up the main cron — required
After your first sign-in, open Settings → Scheduler (Cron). Follow the step-by-step instructions to schedule a run every minute, then select Verify scheduler. Continue once the background task check passes.
This step also applies to CMS installations: their scheduler must run regularly, even when nobody visits the website. A working widget or the first VK message does not replace the cron check.
Installation check
- Open the website as a regular visitor.
- Make sure the chat button is visible.
- Send a test message from the widget.
- Open the admin panel and check that the message appears in conversations.
- Reply from the admin panel and make sure the visitor sees the reply.
Installation checklist
Next step
Open platform installation and check the details for your CMS.